Recipe Card
Hook – Title & Quick Description
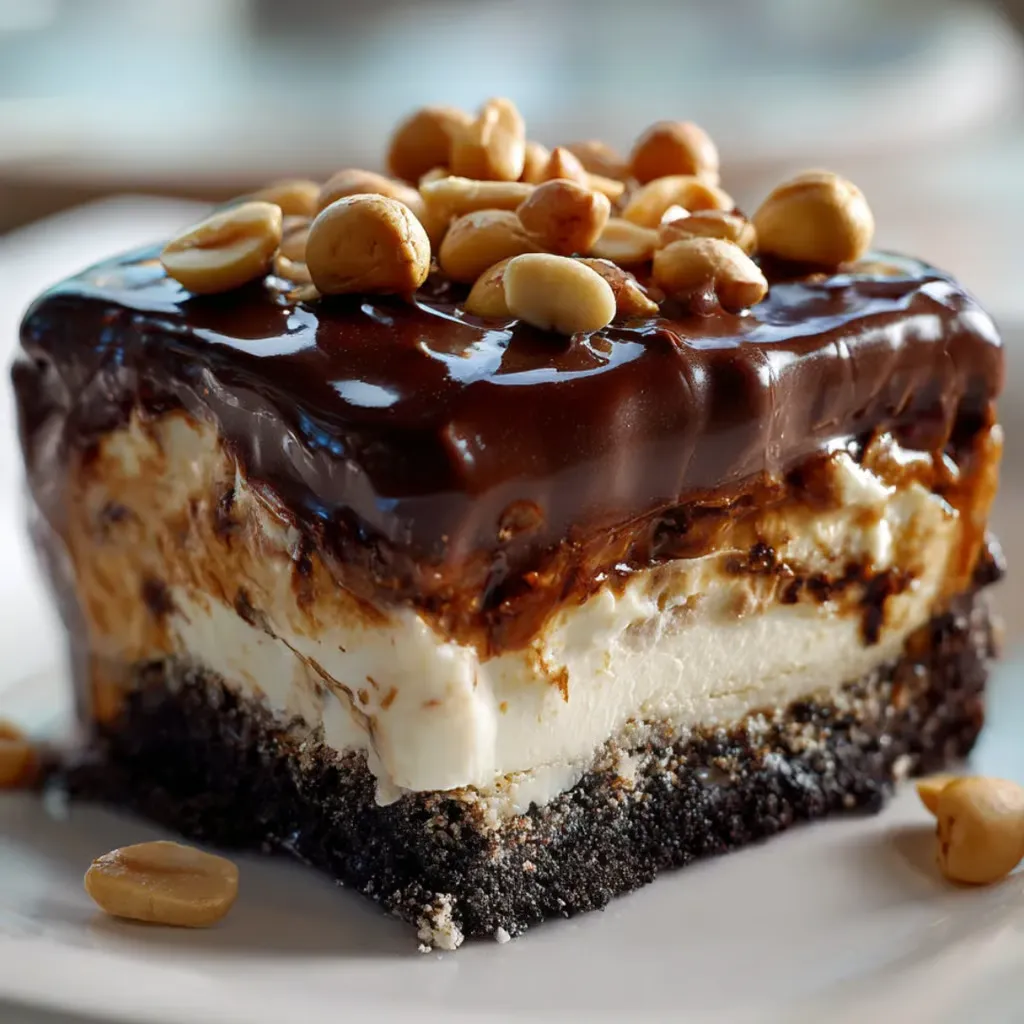
Buster Bar Ice Cream Treat – A nostalgic, layered frozen dessert with a crunchy Oreo crust, creamy vanilla ice cream, salty peanuts, and rich homemade chocolate fudge topping. Perfect for summer gatherings or anytime you crave a Dairy Queen–style classic at home.
Servings & Timing
-
Prep Time: 20 minutes
-
Cook Time: 10 minutes
-
Chill/Freeze Time: 2 hours
-
Total Time: ~2 hours 30 minutes
-
Yield: 12–15 servings
Dietary Badges
-
❌ Not gluten-free (contains Oreo cookies)
-
❌ Not nut-free (peanuts)
-
✅ Vegetarian-friendly (contains dairy, no gelatin/meat)
Ingredients (Checklist style)
-
Crust: Oreo cookies, unsalted butter
-
Filling: Vanilla ice cream, Spanish peanuts
-
Topping: Powdered sugar, semi-sweet chocolate chips, unsalted butter, evaporated milk
Instructions
-
Mix crushed Oreo cookies with melted butter and press firmly into a 9×13-inch dish.
-
Spread softened vanilla ice cream evenly over the crust. Sprinkle with Spanish peanuts. Freeze while making topping.
-
In a saucepan, cook powdered sugar, butter, chocolate chips, and evaporated milk over medium heat. Stir until melted, bring to a boil, then simmer for 10 minutes. Let cool completely.
-
Pour cooled chocolate mixture over ice cream and peanuts. Spread evenly to edges.
-
Freeze 2 hours or until firm. Before serving, soften in fridge for 5–10 minutes for easier slicing.
Notes
-
Use softened (but not melted) ice cream for easy spreading.
-
Spanish peanuts add the signature salty crunch, but roasted peanuts or cashews work too.
-
Make-ahead friendly – great for parties.
Introduction
If you’ve ever had Dairy Queen’s famous Buster Bar, you’ll love this homemade, crowd-pleasing version. It layers all the best things: a crunchy Oreo crust, creamy vanilla ice cream, salty peanuts, and a glossy chocolate fudge topping. It’s indulgent, nostalgic, and guaranteed to disappear fast at summer cookouts or potlucks.
Step-by-Step Cooking Guide
Step 1: Make the Crust
-
Crush Oreo cookies and combine with melted butter.
-
Press mixture firmly into a 9×13-inch dish.
💡 Tip: Use the bottom of a measuring cup to press the crust flat and even.
Step 2: Layer the Ice Cream & Peanuts
-
Spread softened vanilla ice cream over the crust.
-
Sprinkle generously with Spanish peanuts.
💡 Tip: Work quickly – softened ice cream spreads easier, but don’t let it melt completely.
Step 3: Prepare the Chocolate Fudge Topping
-
In a saucepan, whisk together sugar, chocolate chips, butter, and evaporated milk.
-
Bring to a boil, then simmer for 10 minutes until glossy and thick.
💡 Tip: Stir constantly to prevent burning or sticking.
Step 4: Assemble & Freeze
-
Cool topping completely before pouring over ice cream.
-
Spread evenly and freeze for at least 2 hours.
💡 Troubleshooting: If topping isn’t cooling quickly, transfer pan to a bowl of ice water to speed it up.
Step 5: Serve & Enjoy
-
Remove from freezer 5–10 minutes before serving for easier slicing.
Ingredient Details & Substitutions
-
Oreo cookies – Classic chocolate wafers; can substitute with any chocolate sandwich cookies.
-
Vanilla ice cream – A neutral base; feel free to try chocolate or caramel swirl for a twist.
-
Spanish peanuts – Salty and crunchy; substitute with roasted peanuts, pecans, or cashews if preferred.
-
Evaporated milk – Adds creaminess to the fudge topping; don’t substitute with regular milk (too thin).
Variations & Serving Suggestions
-
Flavor Twist: Swap vanilla ice cream for coffee or chocolate chip for a grown-up variation.
-
Nut-Free: Use crushed pretzels instead of peanuts for salty crunch.
-
Serving Idea: Top slices with whipped cream and a cherry for a sundae-style presentation.
-
Party Style: Make in cupcake liners for individual servings.
Storage & Make-Ahead Tips
-
Storage: Keep covered in the freezer up to 2 weeks.
-
Make-Ahead: Prepare 1–2 days before serving for stress-free entertaining.
-
Reheating: Not applicable – keep frozen until serving.
-
Shelf Life: Best within 1 week for maximum crunch; peanuts may soften over time.
Nutrition Facts (per serving – approx. 1/12 of dish)
-
Calories: ~450 kcal
-
Carbs: 46 g
-
Protein: 8 g
-
Fat: 26 g
-
Allergens: Dairy, Gluten, Peanuts
FAQs
Q: Can I use a different cookie for the crust?
A: Yes, graham crackers or chocolate chip cookies work too.
Q: Can I make this without peanuts?
A: Absolutely – try crushed pretzels or skip nuts altogether.
Q: Can I freeze leftovers?
A: Yes, this treat freezes perfectly for up to 2 weeks.
Personal Note
This recipe reminds me of childhood summers – my mom made it for every potluck, and it always disappeared first. It’s one of those recipes that looks impressive but is secretly simple, making it a staple in my dessert rotation.
✨ If you make this Buster Bar Ice Cream Treat, I’d love to hear how it turned out. Share your version in the comments or tag your creations on social media – your twist might inspire others!

- Creamy Chicken and Broccoli Pasta - January 8, 2026
- Hearty Rustic Chicken & Vegetable Soup - January 8, 2026
- Tomato Basil Garlic Bread - January 8, 2026